
Click the “New Packaging System” button to start a new assessment for your packaging.
.svg)
Packaging System Definition
Enter a Packaging System Name, a brief description, and more relevant information.
-
Description: Use this field to differentiate between R&D packaging systems (e.g., noting a specific component change).
-
Article Number: Enter your internal database ID here to enable easier searching and filtering later.
.svg)
Click “Continue” to proceed.
Rulesets
This page displays guidelines relevant to recyclability analysis, EPR (Extended Producer Responsibility) fee schemes, and Plastic Tax guidelines. The available options depend on your specific contract.
-
Selection: Check the rulesets relevant to your project.
-
Filtering: Use the top filter to search by type or country. You can also filter by a specific period (e.g., Q1 2026) to see guidelines valid for that specific market window or selecting all rulesets that are valid today.
.svg)
Click “Continue” when finished.
Shipment Volumes
Add the sales volume data for your packaging project to calculate potential fees or taxes.
-
Click “Add Shipment Volume” and select a month.
-
Enter the number of Consumer Sales Units (CSU) and the destination country.
-
Click “Add” to save and add more rows, or use the Trash Can icon to delete entries.
- Click “Save“ and “Continue".
.svg)
Note: If you are using Recyda strictly for R&D and do not need financial projections, you may skip this page.
Packagings
Define the packaging items being assessed.
-
Naming: Use clear names like “Shampoo Bottle” or “Yoghurt Cup”.
-
Quantity per CSU: Enter how many of these items make up one unit the consumer buys (e.g., a 6-pack of water contains 6 packagings per CSU).
-
Management: Use the icons on the right to Duplicate or Delete packagings. You can also use “Import Packaging” to pull data from a previous project.
.svg)
Click “Continue.”
Composition
Model the individual components of your packaging to create a complete digital twin.
-
General Properties: Define high-level attributes (e.g., Dimensions, Volume, DRS eligibility).
.svg)
-
Main Component: Click “Add Main Component” and select the packaging type. If a specific type isn't listed, choose “Rigid Packaging (Generic)” or “Flexible Packaging (Generic).”
-
Materials & Layers: Under the Material tab, choose the material of the layer, name the layer and enter its weight. Density is pre-filled automatically.
-
Use the “Add Layer” button for multi-layer structures.
-
Visible Outer Layer: The first layer defaults to visible but you can manually change this by checking the box on the appropriate layer.
-
Reorder: Use the icon on the left to drag and drop layers into the correct order.
-
-
Dynamic Questions: Depending on your layers, additional questions (e.g., Additives, Degradability) may appear in the General Properties section.
.svg)
After adding all components of the packaging, click on "Continue".
Assessment
Answer specific questions about your packaging’s attributes.
-
Pre-populated Answers: A grey arrow with a plus icon indicates data already filled by the system. However, you can change the selected answer.
-
Guideline Alignment: The sections on the right (Recyclability, EPR Fees, Taxes) will highlight any missing information required by your selected rulesets.
.svg)
Results
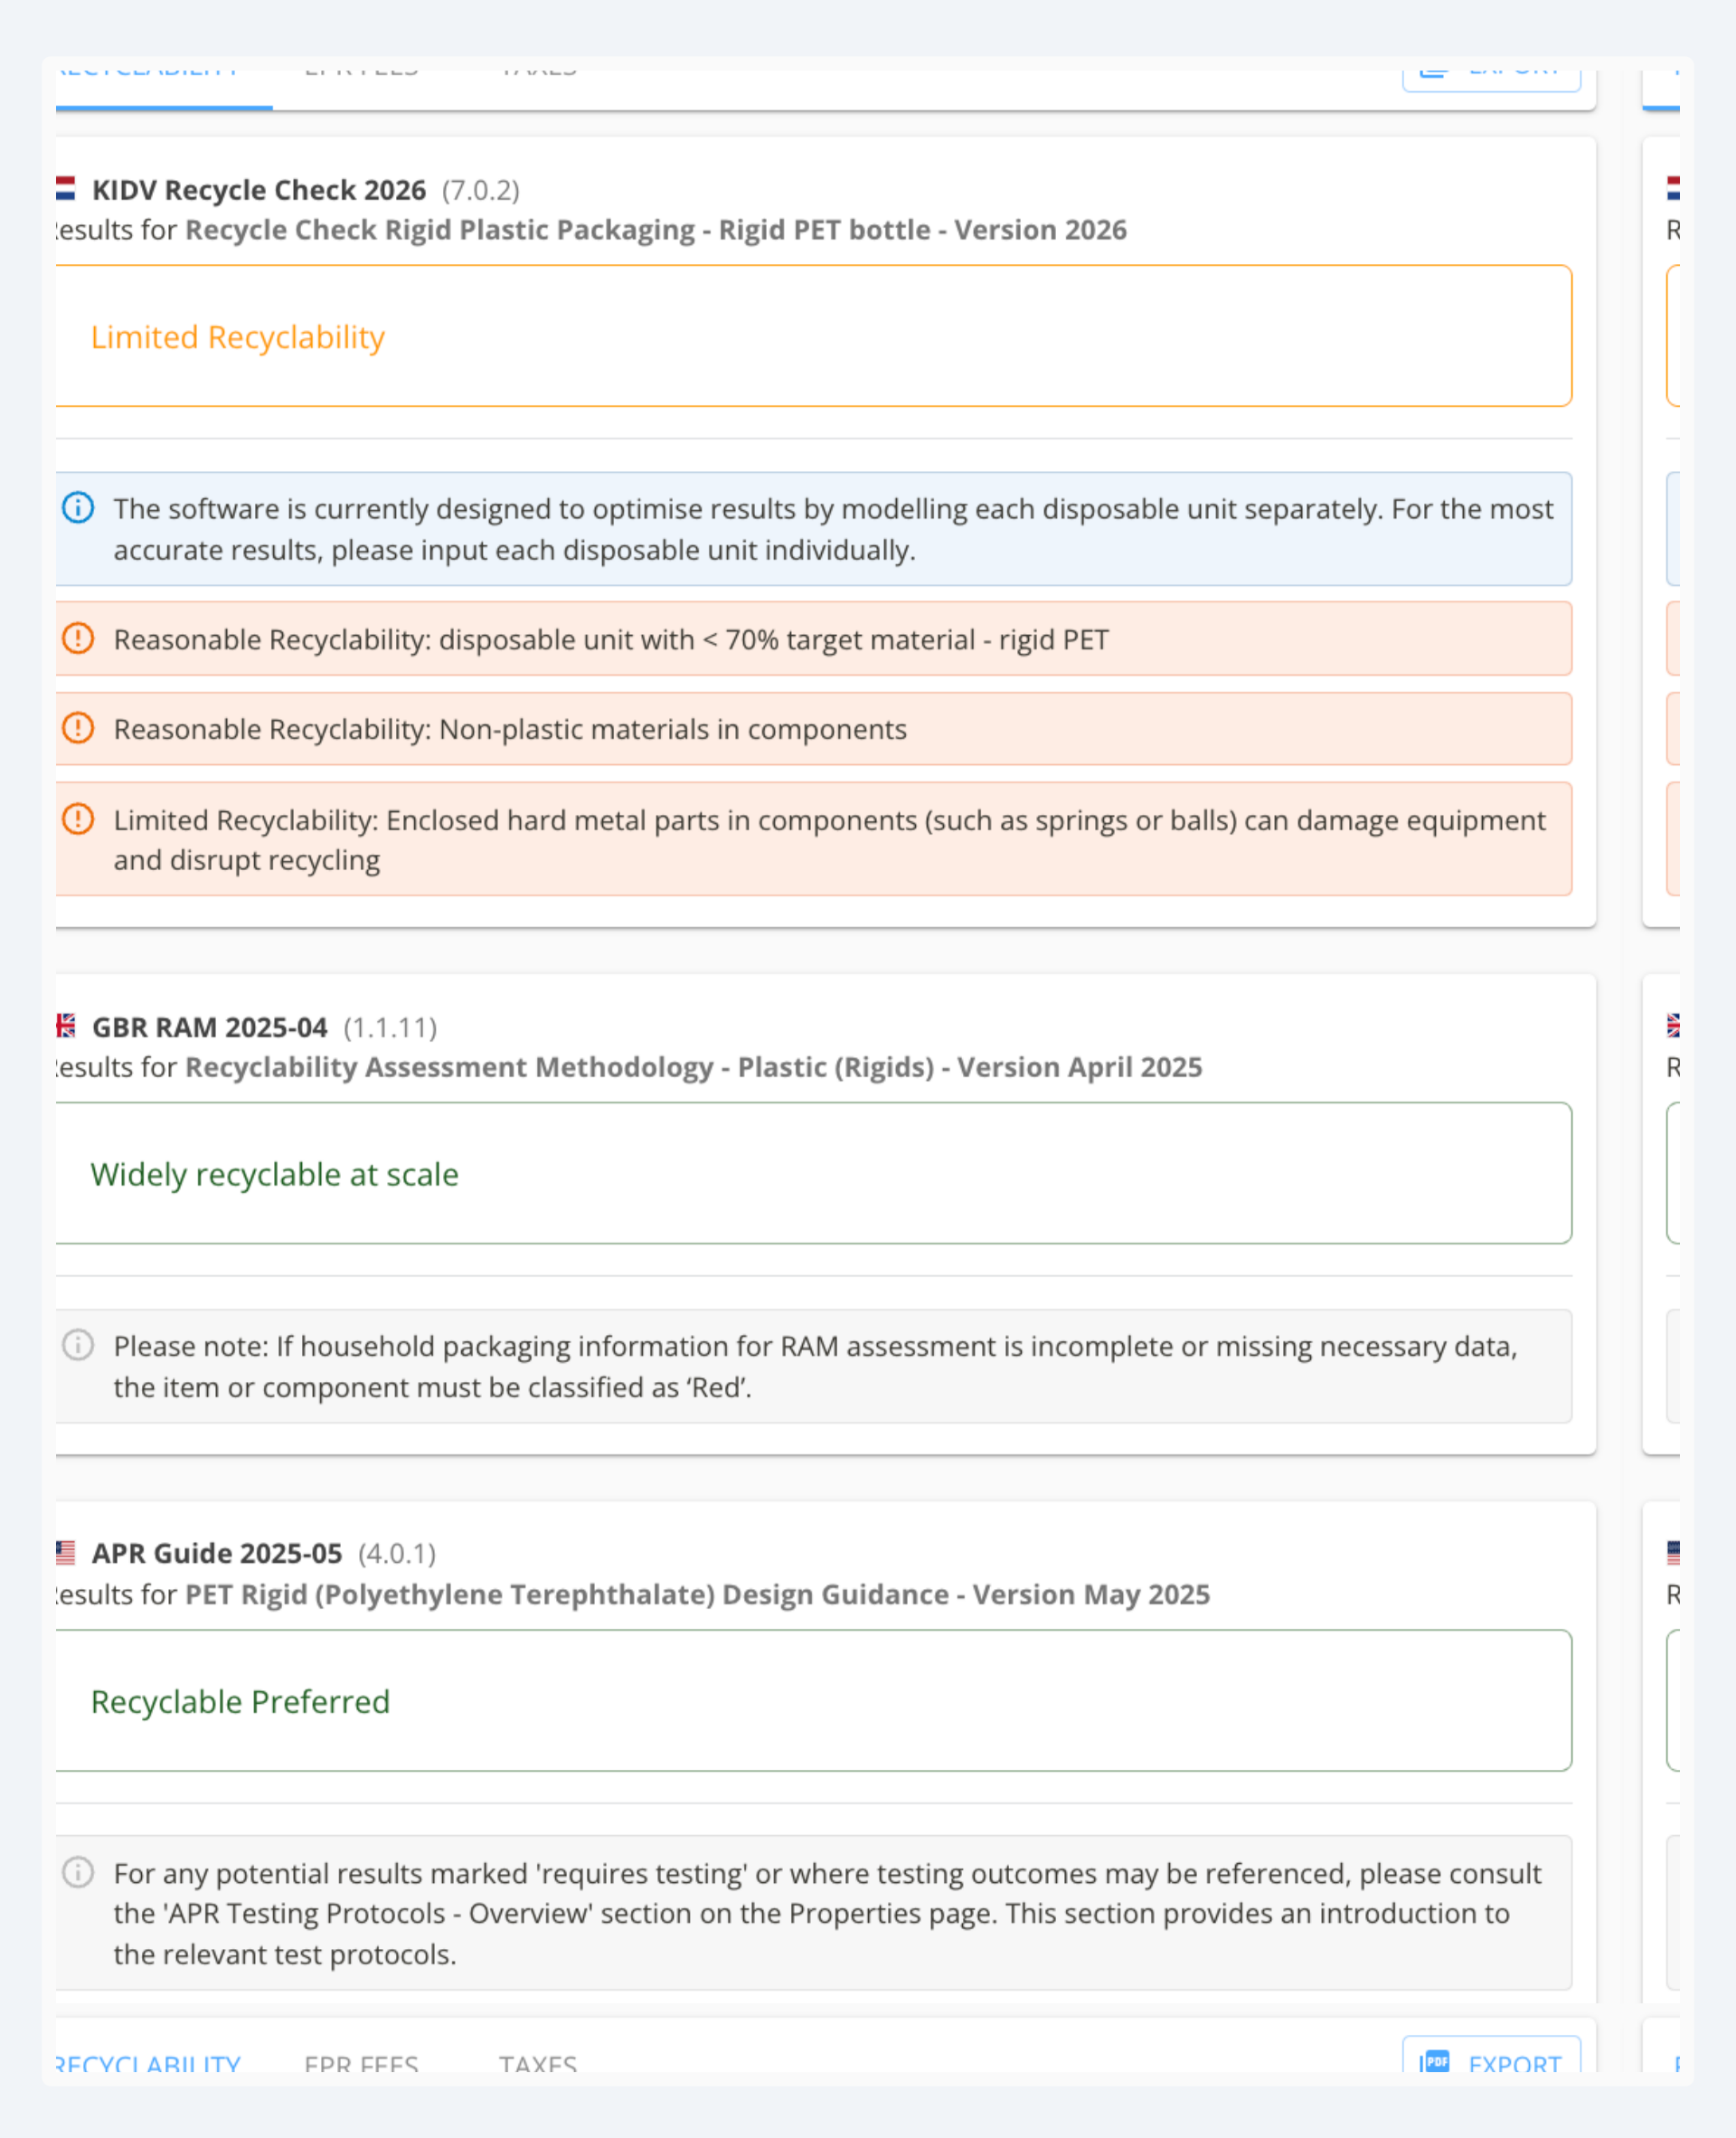
View a comprehensive overview of your project.
-
Top Left: View and collapse the material composition of your components.
.svg)
-
Bottom Tabs: Toggle between Recyclability, EPR Fees, and Taxes.
⚠️ Important: Completion & Accuracy
Any unanswered questions are marked in Orange. While the software will generate results without them, providing more data ensures higher accuracy for your final recyclability and fee assessments.